For any migration or disaster recovery (DR) activity, the first step is to discover the cluster in SWIFT. Discovery allows SWIFT to identify and register the cluster along with its associated resources such as namespaces, workloads, and other objects. Only after the cluster is successfully discovered, you can proceed with operations like syncing applications, or performing the actual migration or failover tasks.
Pre-requisite:
1. To discover the Azure OpenShift container platform cluster, you must have a cluster created in the Azure cloud and know the region where the cluster is deployed.
2. For Azure OpenShift, the credentials typically involve creating a Service Principal in Azure AD with the required permissions. To create a Service Principal and service account for adding the Azure OpenShift cluster, refer to the Adding OpenShift cluster service account for SWIFT section in the Pre-requisite and Installation Guide.
or
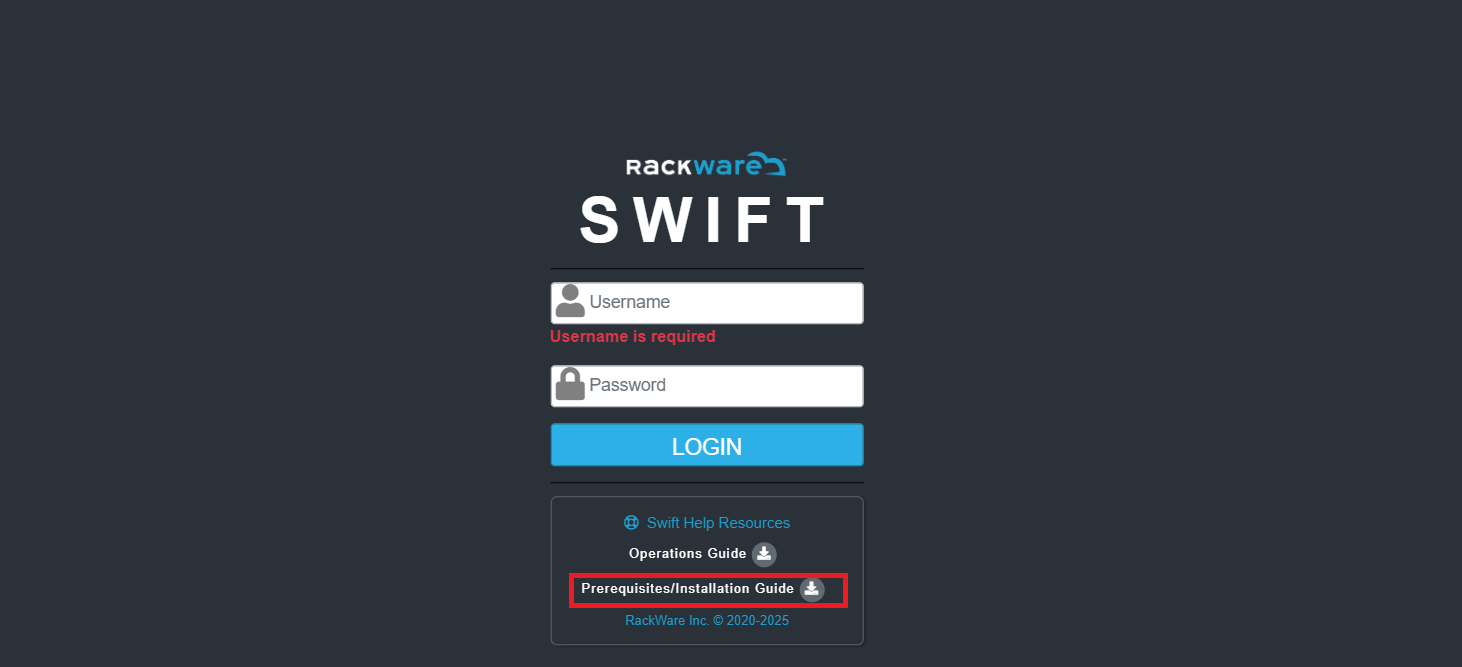
You can download the Installation and Prerequisite Guide from the SWIFT Dashboard. This guide will help you create the required credentials/service account for the Azure OpenShift cluster. Refer to the screenshot below for guidance.
Following are steps to discover the Azure OpenShift cluster.
1. Log in to the SWIFT dashboard, navigate to the Container Cluster menu, and click the Add button. Refer to the screenshot below for guidance.

2. Once you click the Add button, the Cluster Add dialog will appear. Enter the required cluster details to proceed with the discovery. Refer to the screenshot below for guidance.

| Field name | Field Description |
| Platform type | Select the platform where your cluster is running |
Friendly name | You need to enter a friendly name according to your cluster or project. |
Cloud Type | Choose the ‘cloud type’ from the dropdown as SWIFT supports various clouds |
| Service account token | In Azure OpenShift, the service account token is a secret token linked to a service account, used for secure, automated access to the OpenShift API |
| Port | In Azure OpenShift, you connect to the cluster API on port 6443, |
| IP Address/DNS name | In ARO, the cluster API is accessed via a DNS name like api.<cluster-name>.<base-domain> |
| Subscription ID | In Azure OpenShift (ARO), the Subscription ID is simply the unique Azure identifier of the subscription where your OpenShift cluster is deployed. The Subscription ID is the 36-character Azure subscription GUID used to identify where your ARO cluster resources live. |
| Tenant ID | In Azure OpenShift (ARO), the Tenant ID is the unique Azure Active Directory (AAD) identifier for your organization’s directory. |
| Client ID | In Azure OpenShift (ARO), the Client ID refers to the Application (client) ID of a Service Principal used by the cluster or automation to authenticate with Azure. |
| Resource group | Resource Group is the logical container in Azure where all your ARO cluster resources are deployed and managed. |
| Client Secret | The Client Secret is the credential (like a password) for the service principal (Client ID) that allows the ARO cluster to access and manage Azure resources securely. Know more |
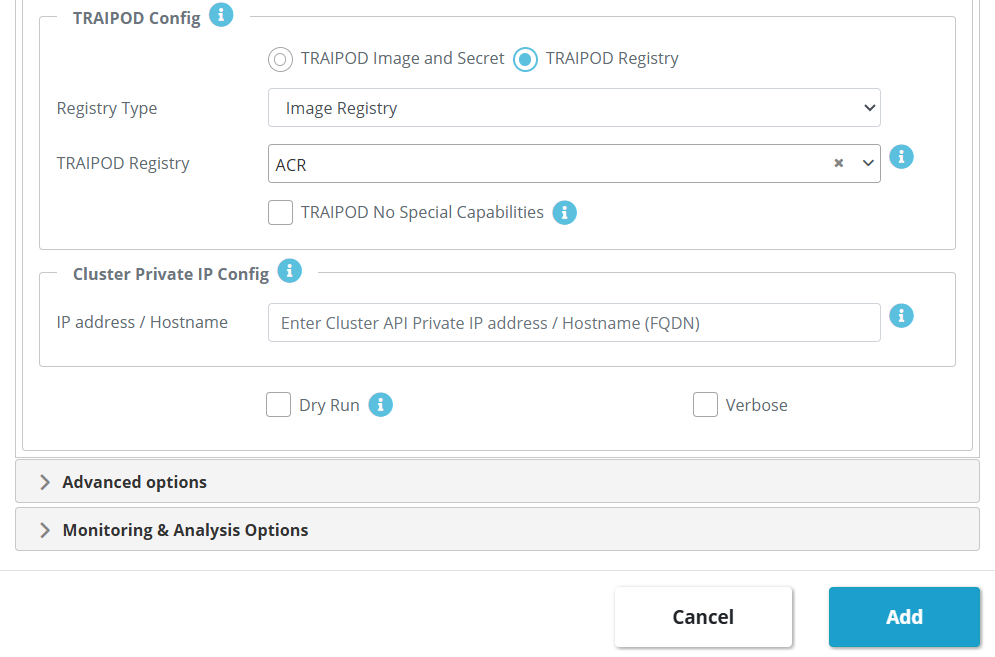
| TRAIPOD Config | This is an optional input. They can be configured for each sync, and the values input for the sync will override the defaults set for the cluster. For more info you can look TRAIPOD KB article. To more know about Traipod Config section, Please follow below KB Article. traipod-config |
| Cluster private IP config | Normally, the IP address or hostname mentioned in the kubeconfig file is used to discover the cluster. However, if you want to set up a private IP or hostname to access the cluster, and the public IP mentioned in the kubeconfig is not used, this setting can be used to overwrite the default kubeconfig IP with the private IP and port. |
4. Once the cluster is discovered, navigate to Container Cluster > Click on the Cluster. You will see that the Azure OpenShift cluster has been successfully discovered.
5. You can view all information about the cluster and its metadata. Click on the cluster to expand it and see the details, including tabs such as Summary, Project, OpenShift Objects, etc.
6 .You can also perform additional operations, such as Rediscover, Configure, or Delete the cluster. To do this, select the cluster, and the available options will appear above.
- Re-Discover : This option allows you to re-discover the cluster. If you have added new namespaces or applications to the cloud cluster and want them to be reflected in the SWIFT portal, you can re-discover the cluster.
- Configure : Use this option if you want to modify the cluster configuration. Please check KB Article on 'Configure the cluster'
- Delete : Use this option to delete the cluster. However, ensure that no DR Policy is attached to the cluster; otherwise, the cluster cannot be deleted and the Delete option will be disabled. It will delete from SWIFT dashboard only not from cloud.